We are currently working on renovating
our new mid-century home and we have a few drywall projects to do around the house. My mom reminded me of a story from when I was little where a carpenter neighbor helped patch a hole in our childhood bedroom.
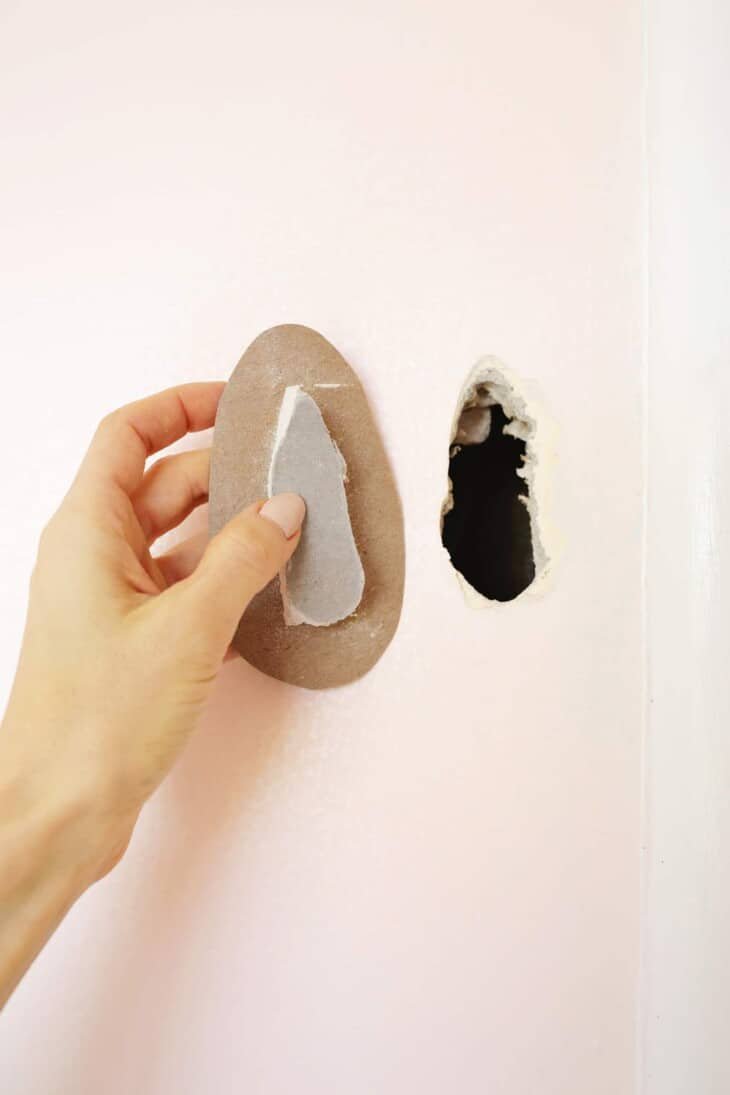
She said she thought it was so cool because instead of using a mesh patch or building up the wall behind the hole, he simply cut out a small piece of new drywall (a few inches bigger than the hole), traced the shape of the hole onto the back of the drywall lightly with a utility knife, and then snapped off the excess drywall chunks.
He left the front drywall paper layer intact so he could insert it into the wall like a puzzle piece. I
had never heard of this hack, but it turns out it is a real trick that can be used to repair a custom hole with just a bit of extra drywall. So I tried it this week and it totally works! Here’s what I did:
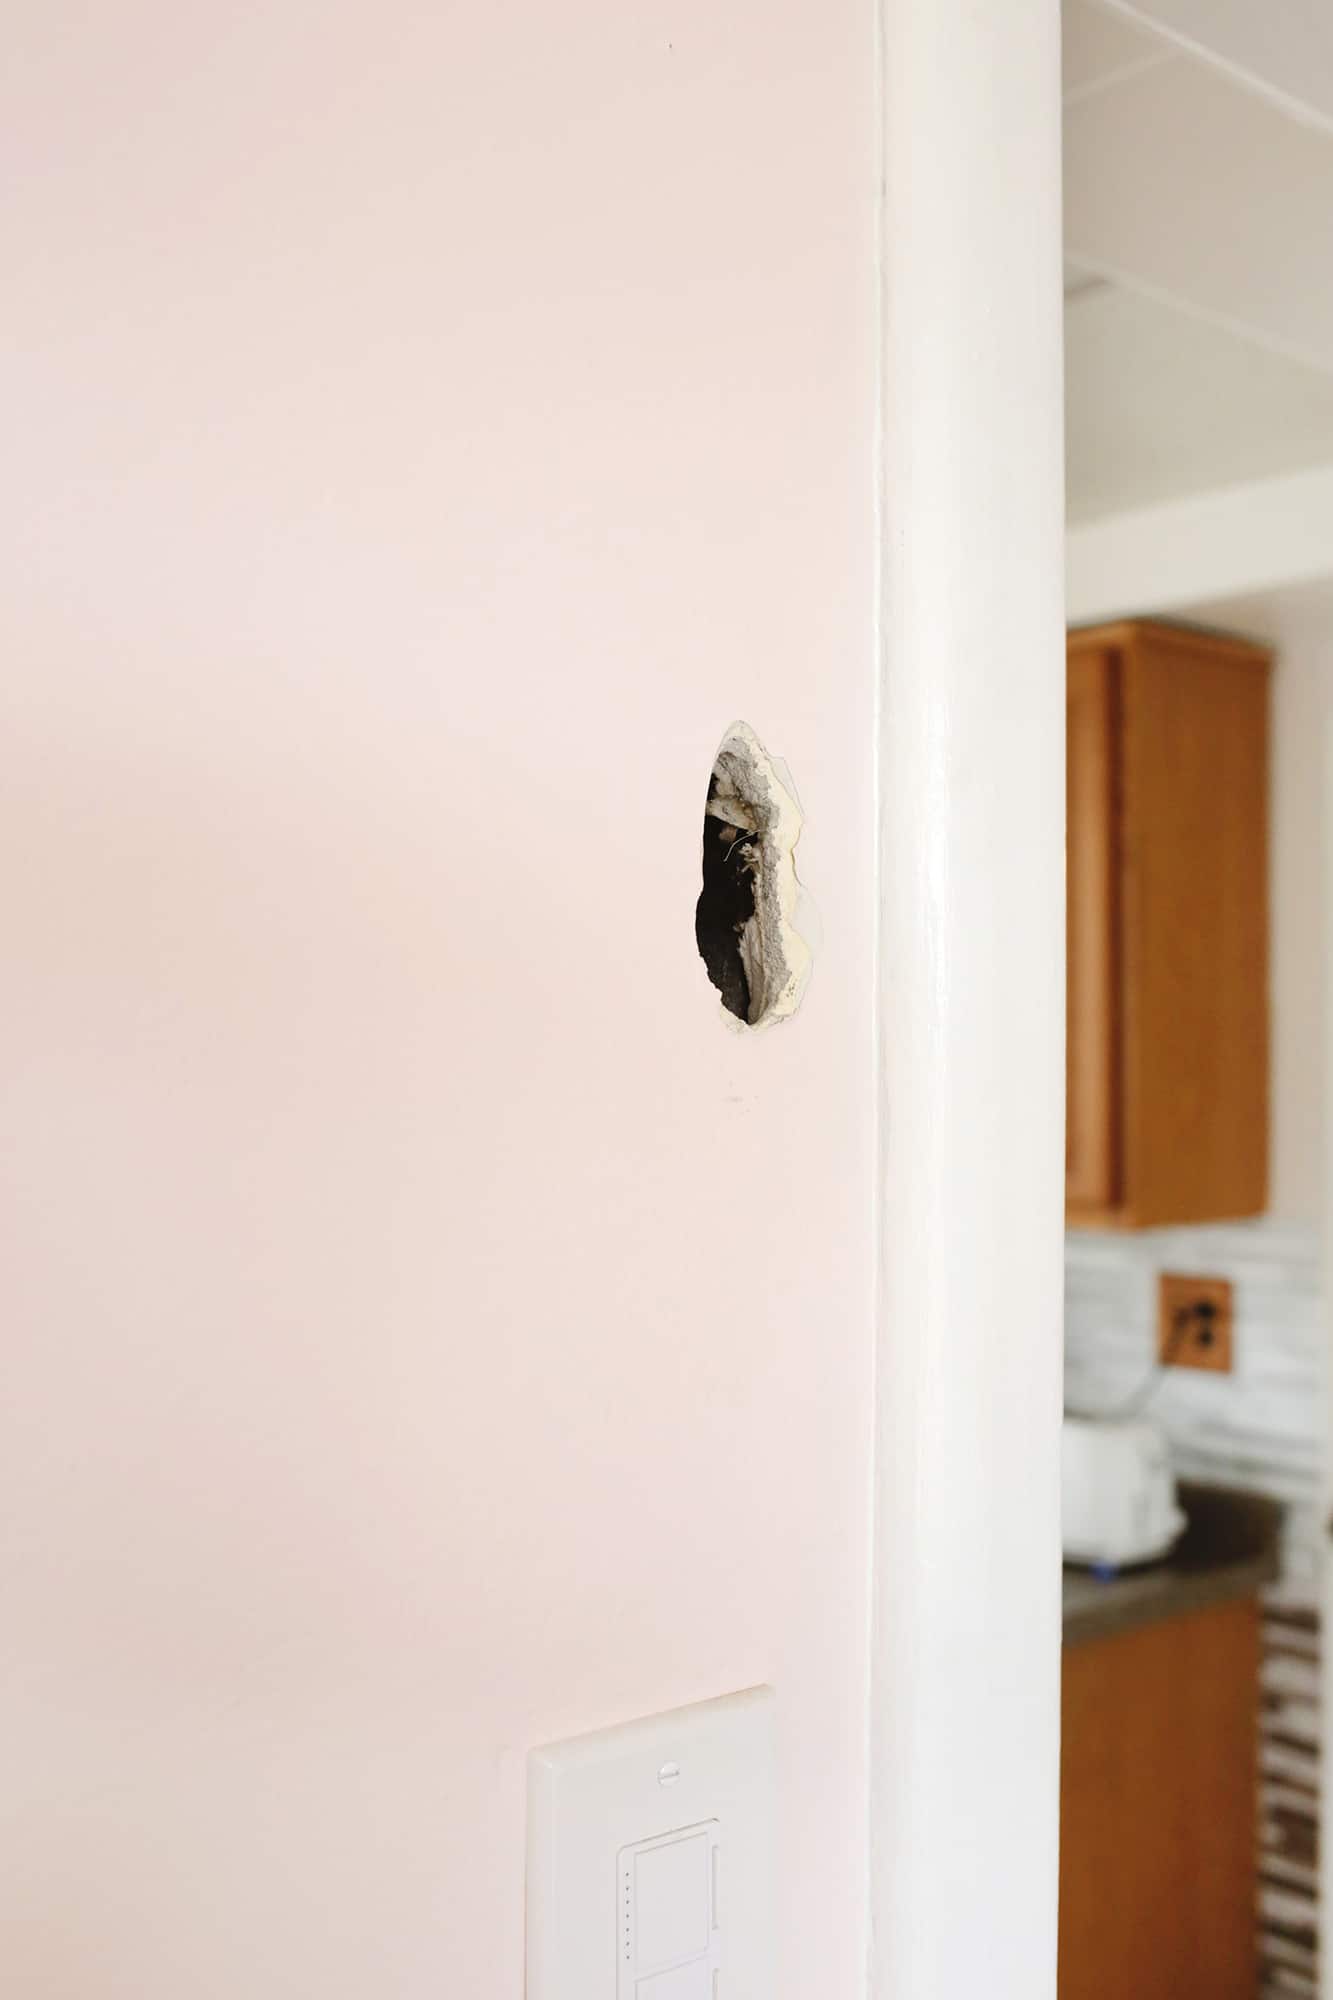
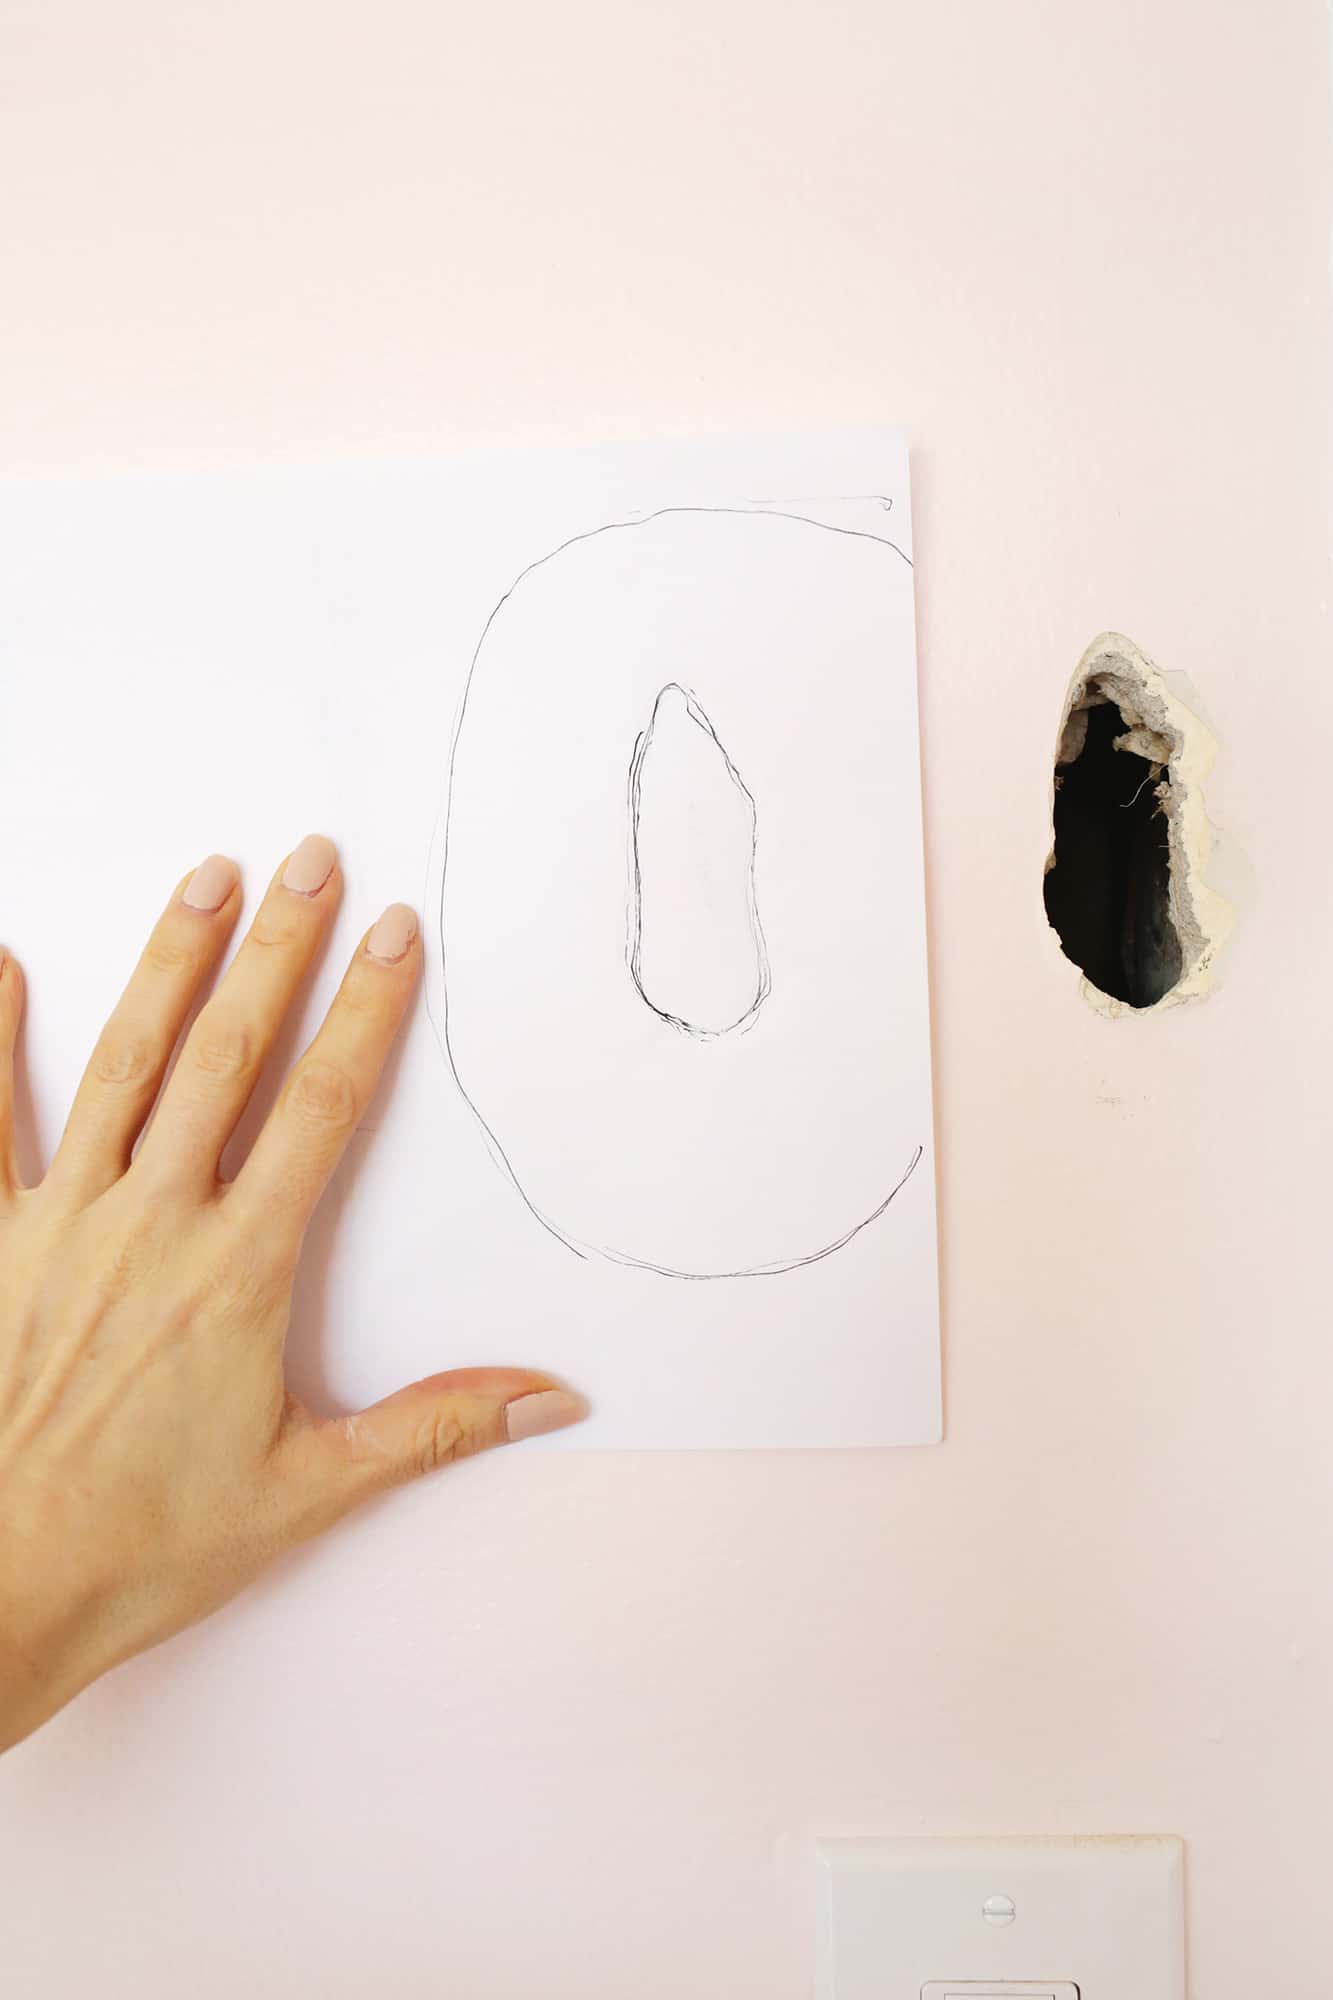 Trace your hole:
 Put a piece of paper over your hole and trace it either with a pen (if you can see the lines underneath) or make an indent in the paper with your fingers around the hole edge (if you can’t see the lines) so you can trace the indent with a pen once you take it off.
If you have a really crazy shape of a hole, you can knock out some
extra drywall by lightly tapping at the edges with a hammer or screwdriver to make a more uniform circle or oval hole.
Looking to do other drywall projects? Check out these DIYs…
![4 pictures of someone cutting out the shape of the hole in paper and in cardboard]()
![someone holding the cardboard cut out of hole next to the hole in the wall]() Cut your drywall scrap:
Cut your drywall scrap: Use your
utility knife (that kind where the blade folds in feels extra safe to store around little kids) to cut and snap a piece of drywall that’s a few inches bigger than your hole.
Center your tracking on the back of the drywall scrap and trace your hole shape onto the back of your drywall with your knife or
X-Acto knife.
Make sure your tracing is reversed so it will be the right shape when you go to put it into your hole! You don’t have to go super deep on your first pass, but trace it a second time when you remove the tracing paper to go a bit deeper.
Snap off the extra (but keep the paper on): Now that you have a shape traced, score a straight line across the top and bottom of your shape and snap off those extra sections.
Rather than cut those sections off, simply peel the drywall off the paper so the front paper stays attached to the drywall patch.
Depending on your shape, you may need to keep scoring and snapping bigger chunks off or you may be able to snap right at your traced line and peel off from there.
I only had to score across the top and bottom and then the sides peeled off on their own. You can also trim down your excess paper with scissors if you have too much on the outside (I would do about 1.5″ around the edge).
You can make sure your piece fits in the wall, and if it won’t, you can chunk off a little more of your patch with your knife until it fits easily.
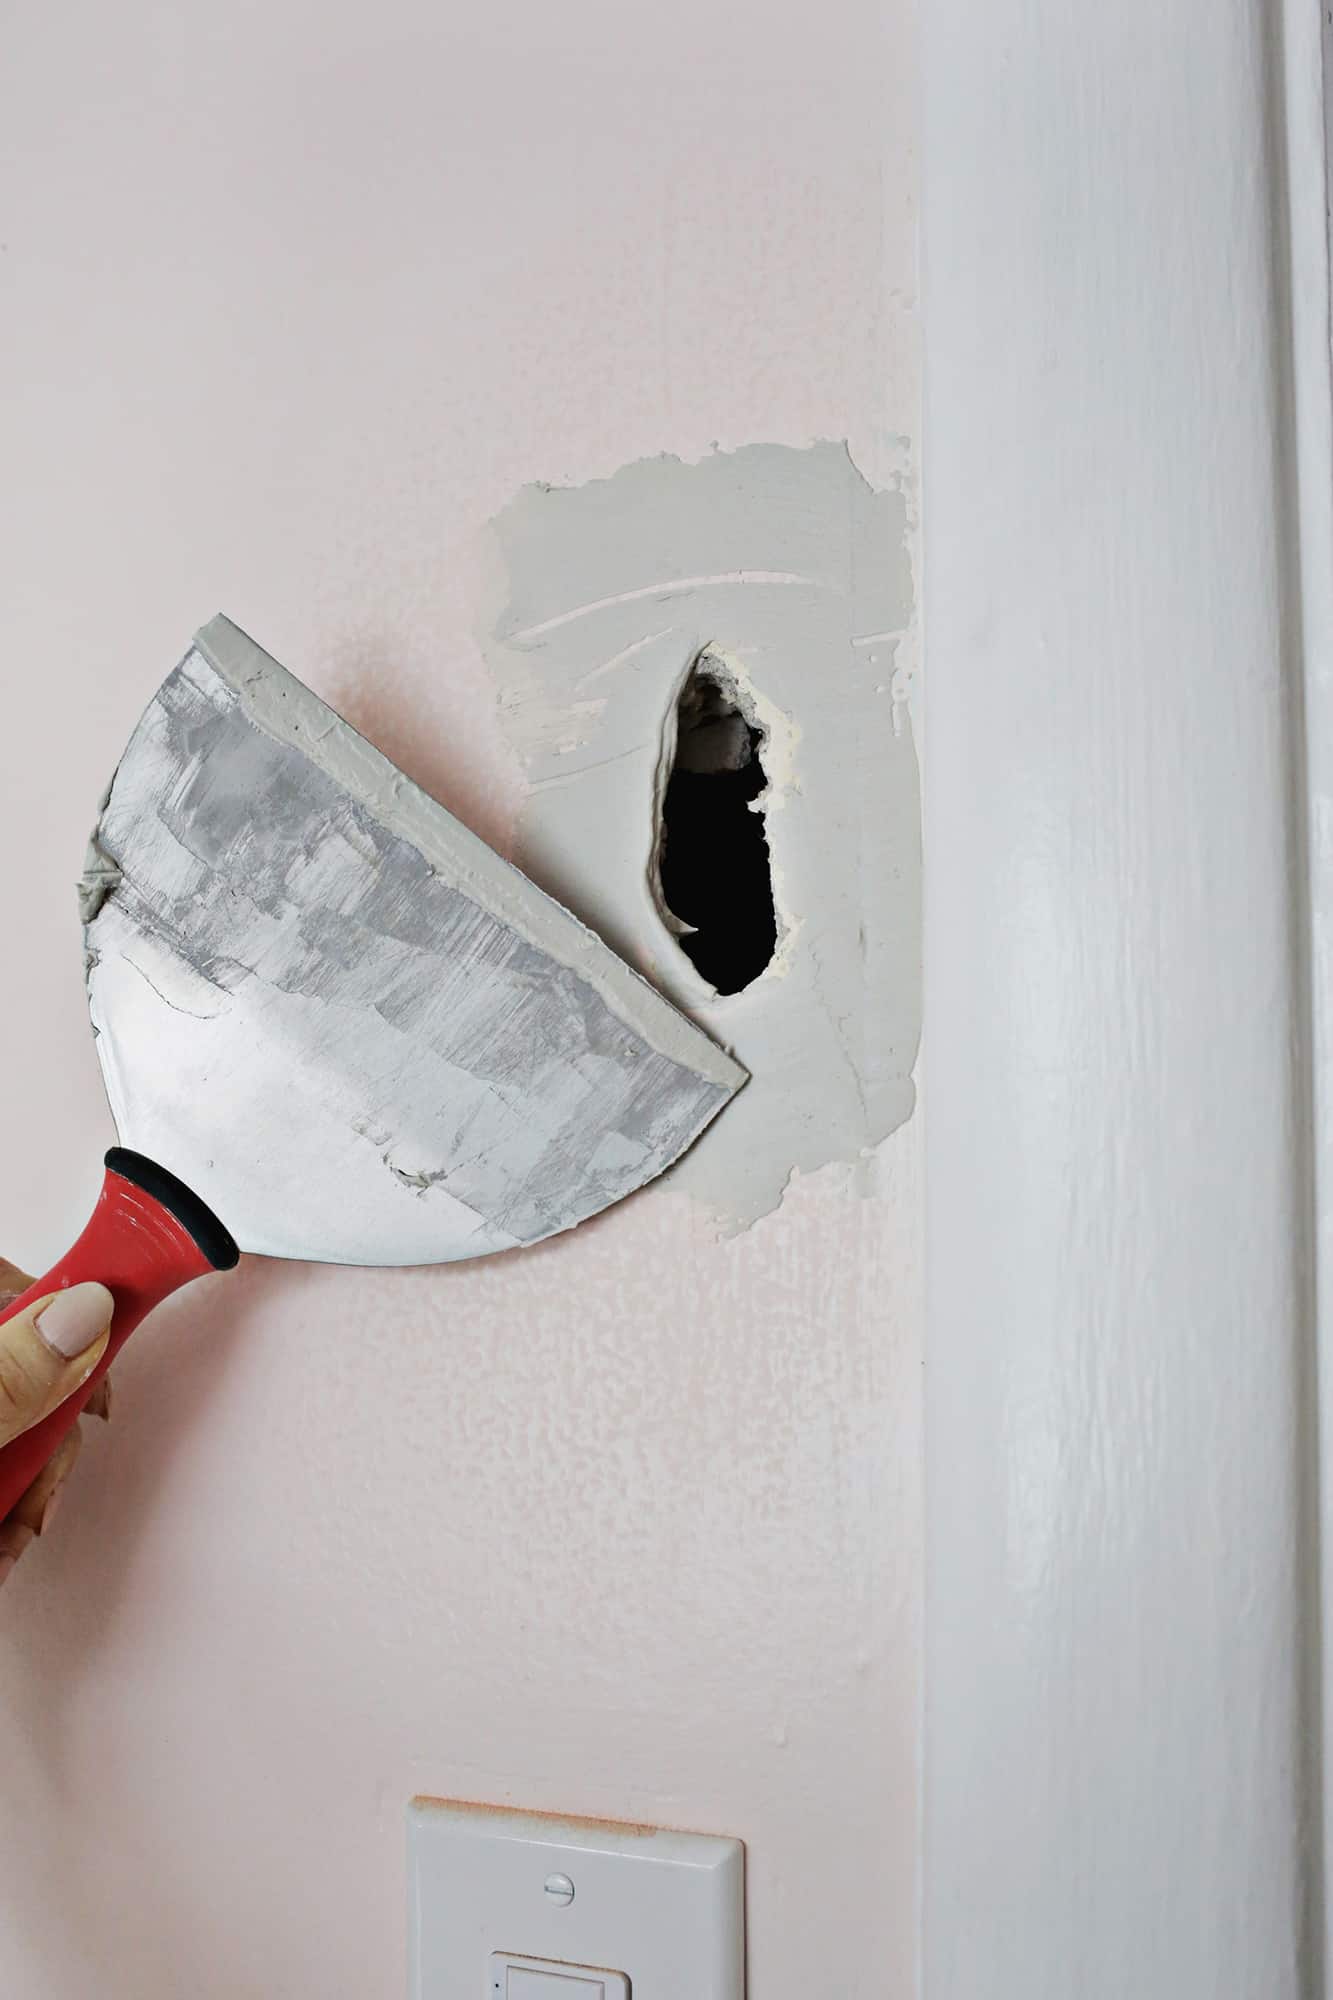 Attach your patch with mud:
 Now that you have your puzzle piece ready to go, sand the paint around the hole with some rough sandpaper to remove the gloss from your paint (the mud will stick better to a slightly rough surface).
Add a thin layer of
drywall mud (that bag of dry mix is great because you can just mix up a little at a time as needed) around the edge of the hole to act as a glue to hold your patch to the wall.
Slightly wet the paper edges of your patch and stick your patch into the wall. Use a joint knife (I like
this 6″ one) to smooth over your patch so you see the excess mud squeezing out the sides to ensure a good seal.
You can also use
regular spackle rather than the drywall mud if you prefer to use that product.
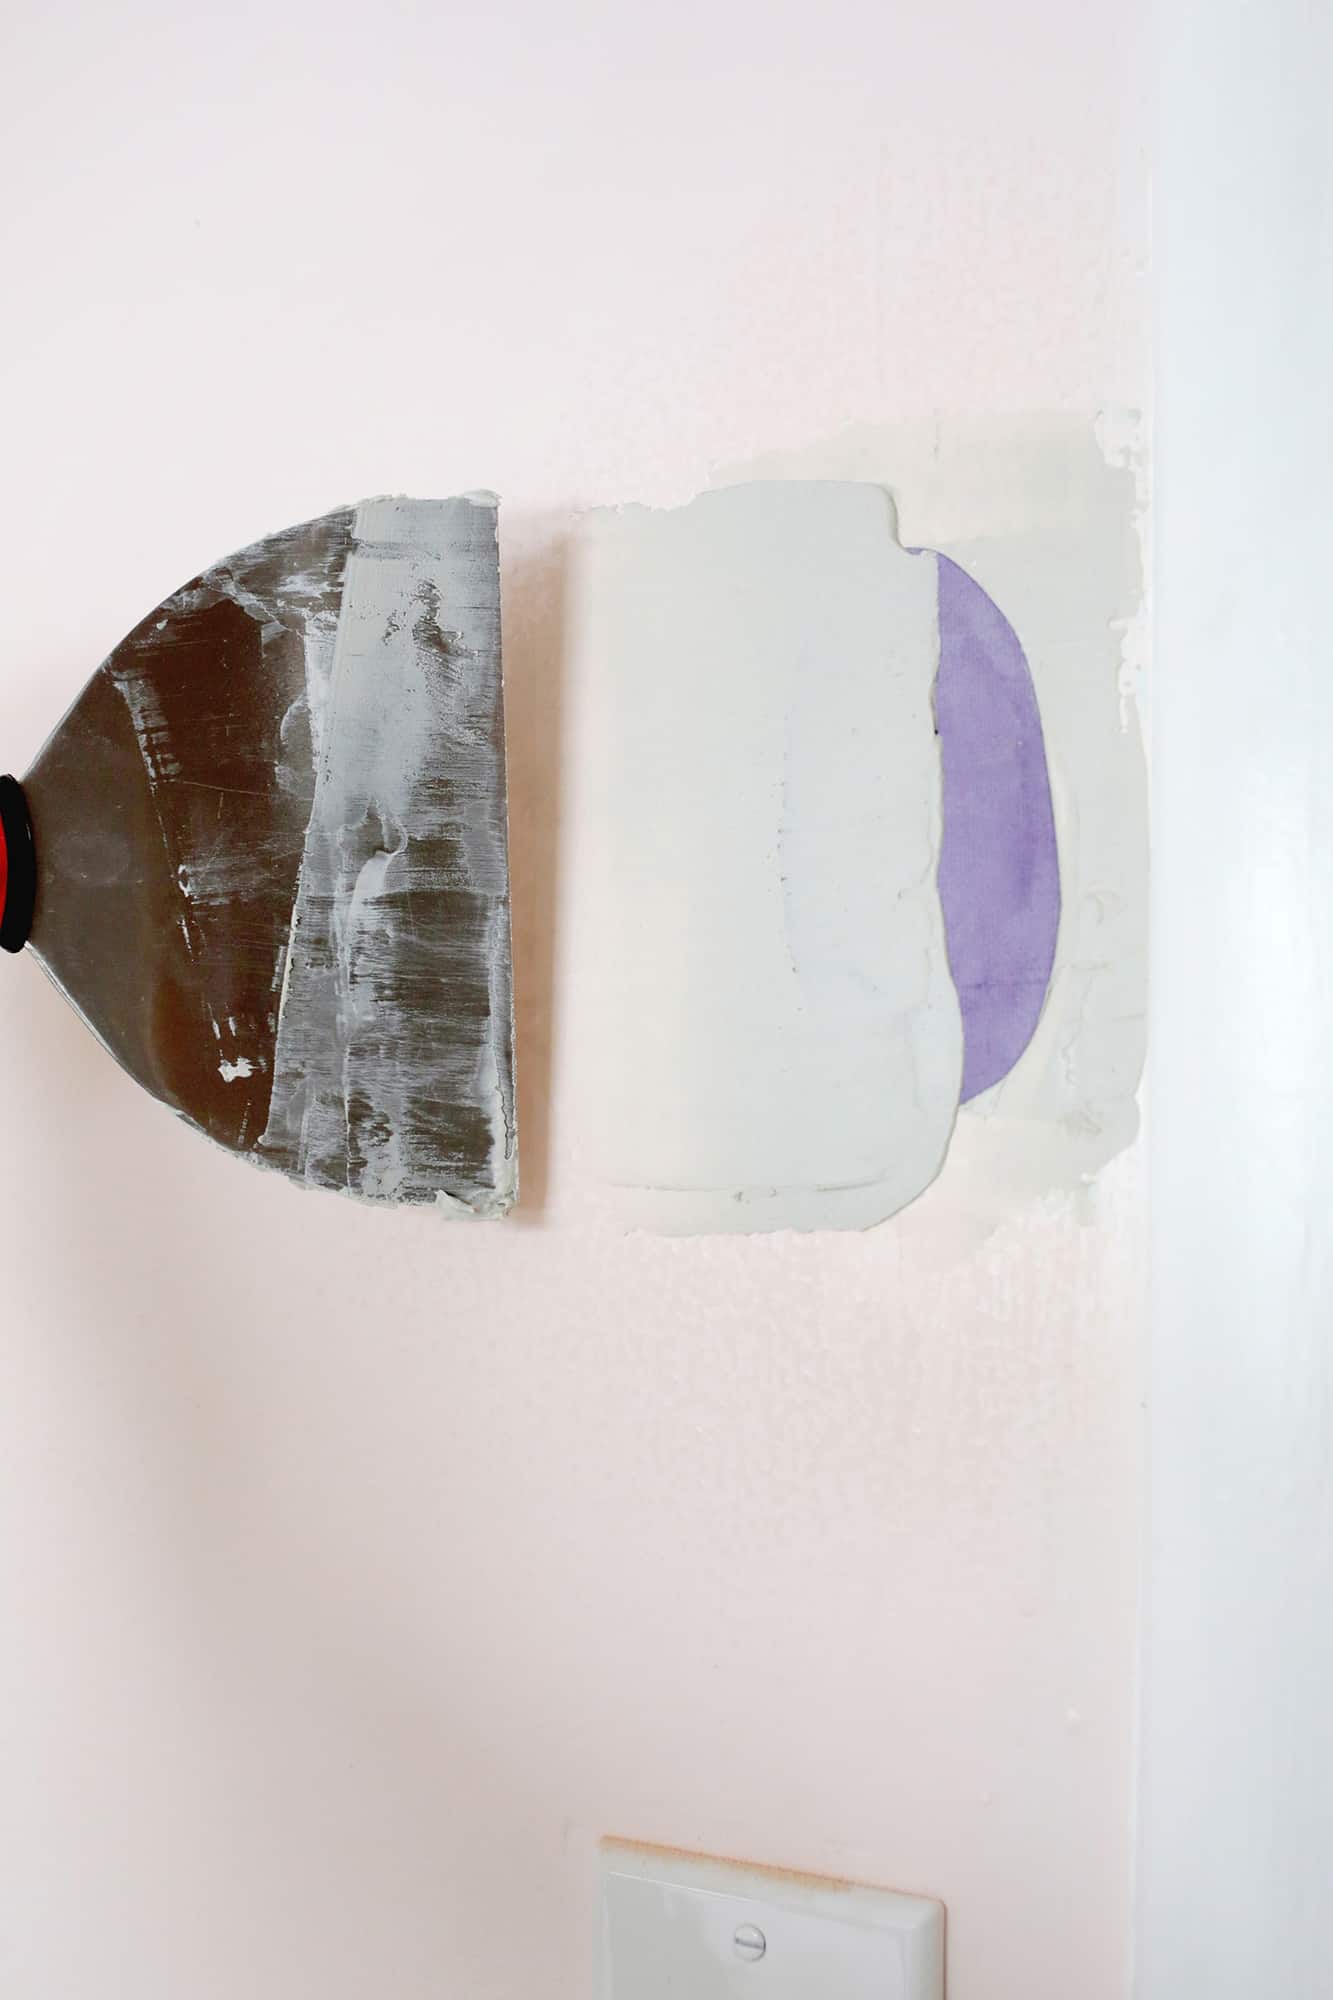

 Smooth over your patch/sand/paint:
 Once you’ve smoothed out the under layer of mud, go over the top of the patch with another thin layer and try to feather out the edges so you’ll have less sanding to do later.
Let that mud fully dry and go over the patch again later with another thin layer, going out even wider than the first layer and feathering out the edges again so you don’t have hard edges to sand.
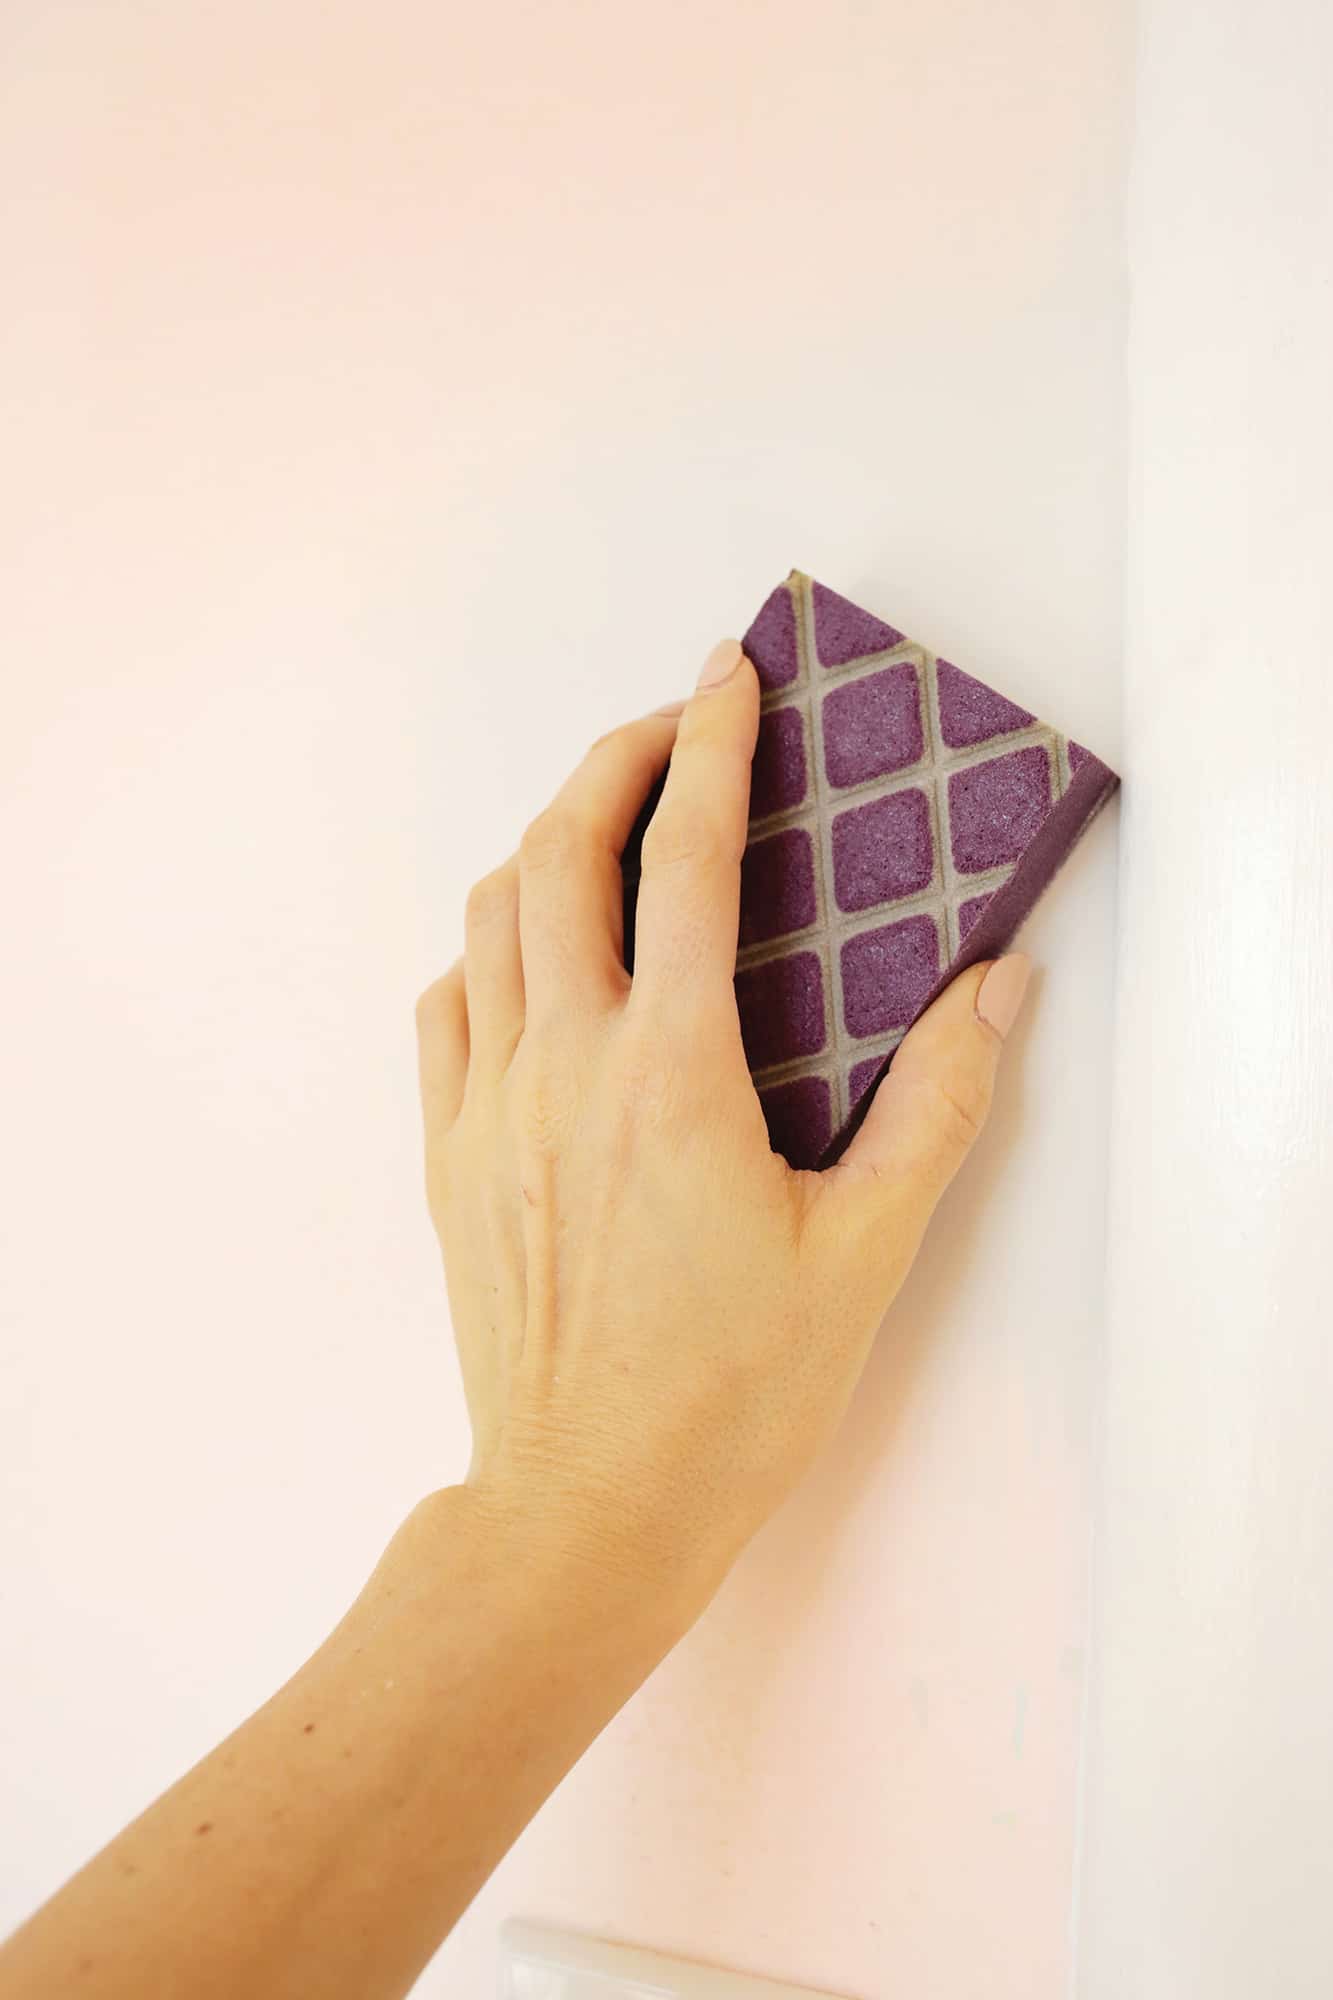
Once it’s all dry, give it a sanding with some sandpaper (
medium first then a
fine grit) and you’re ready to paint over your patch!
Handheld sanders
like this are helpful for sanding or
these sanding sponges are great too!
You’ll want to make sure to
wear eye protection and an
N95 mask when sanding drywall or patching compound to keep from breathing in any of the dust during sanding and cleanup.

The hole is gone!! And in case you are wondering, this does work on plaster walls as well! My wall is actually plaster (it’s an older home so most of the walls are) and it worked just fine.
I would suggest painting over your repair with a
higher nap roller (or look for ones that say they are for semi-rough surfaces) as that gives the super smooth new patch a little texture so it will match the rest of the wall better.
This technique is meant for smaller holes in drywall, so if you have more of a medium-large size hole, you’ll want to screw in wooden boards to the back side of your drywall hole to act as a brace and cut and attach a drywall section to those boards–kind of like you would when framing out a wall.
I filled in a
large niche area with drywall doing that kind of method if you are interested in doing that…Hope this gives you a new handy tool in your toolbox for next time you have a hole in your drywall! xo. Laura
by
A Beautiful Mess 
 Trace your hole: Put a piece of paper over your hole and trace it either with a pen (if you can see the lines underneath) or make an indent in the paper with your fingers around the hole edge (if you can’t see the lines) so you can trace the indent with a pen once you take it off.
If you have a really crazy shape of a hole, you can knock out some extra drywall by lightly tapping at the edges with a hammer or screwdriver to make a more uniform circle or oval hole.
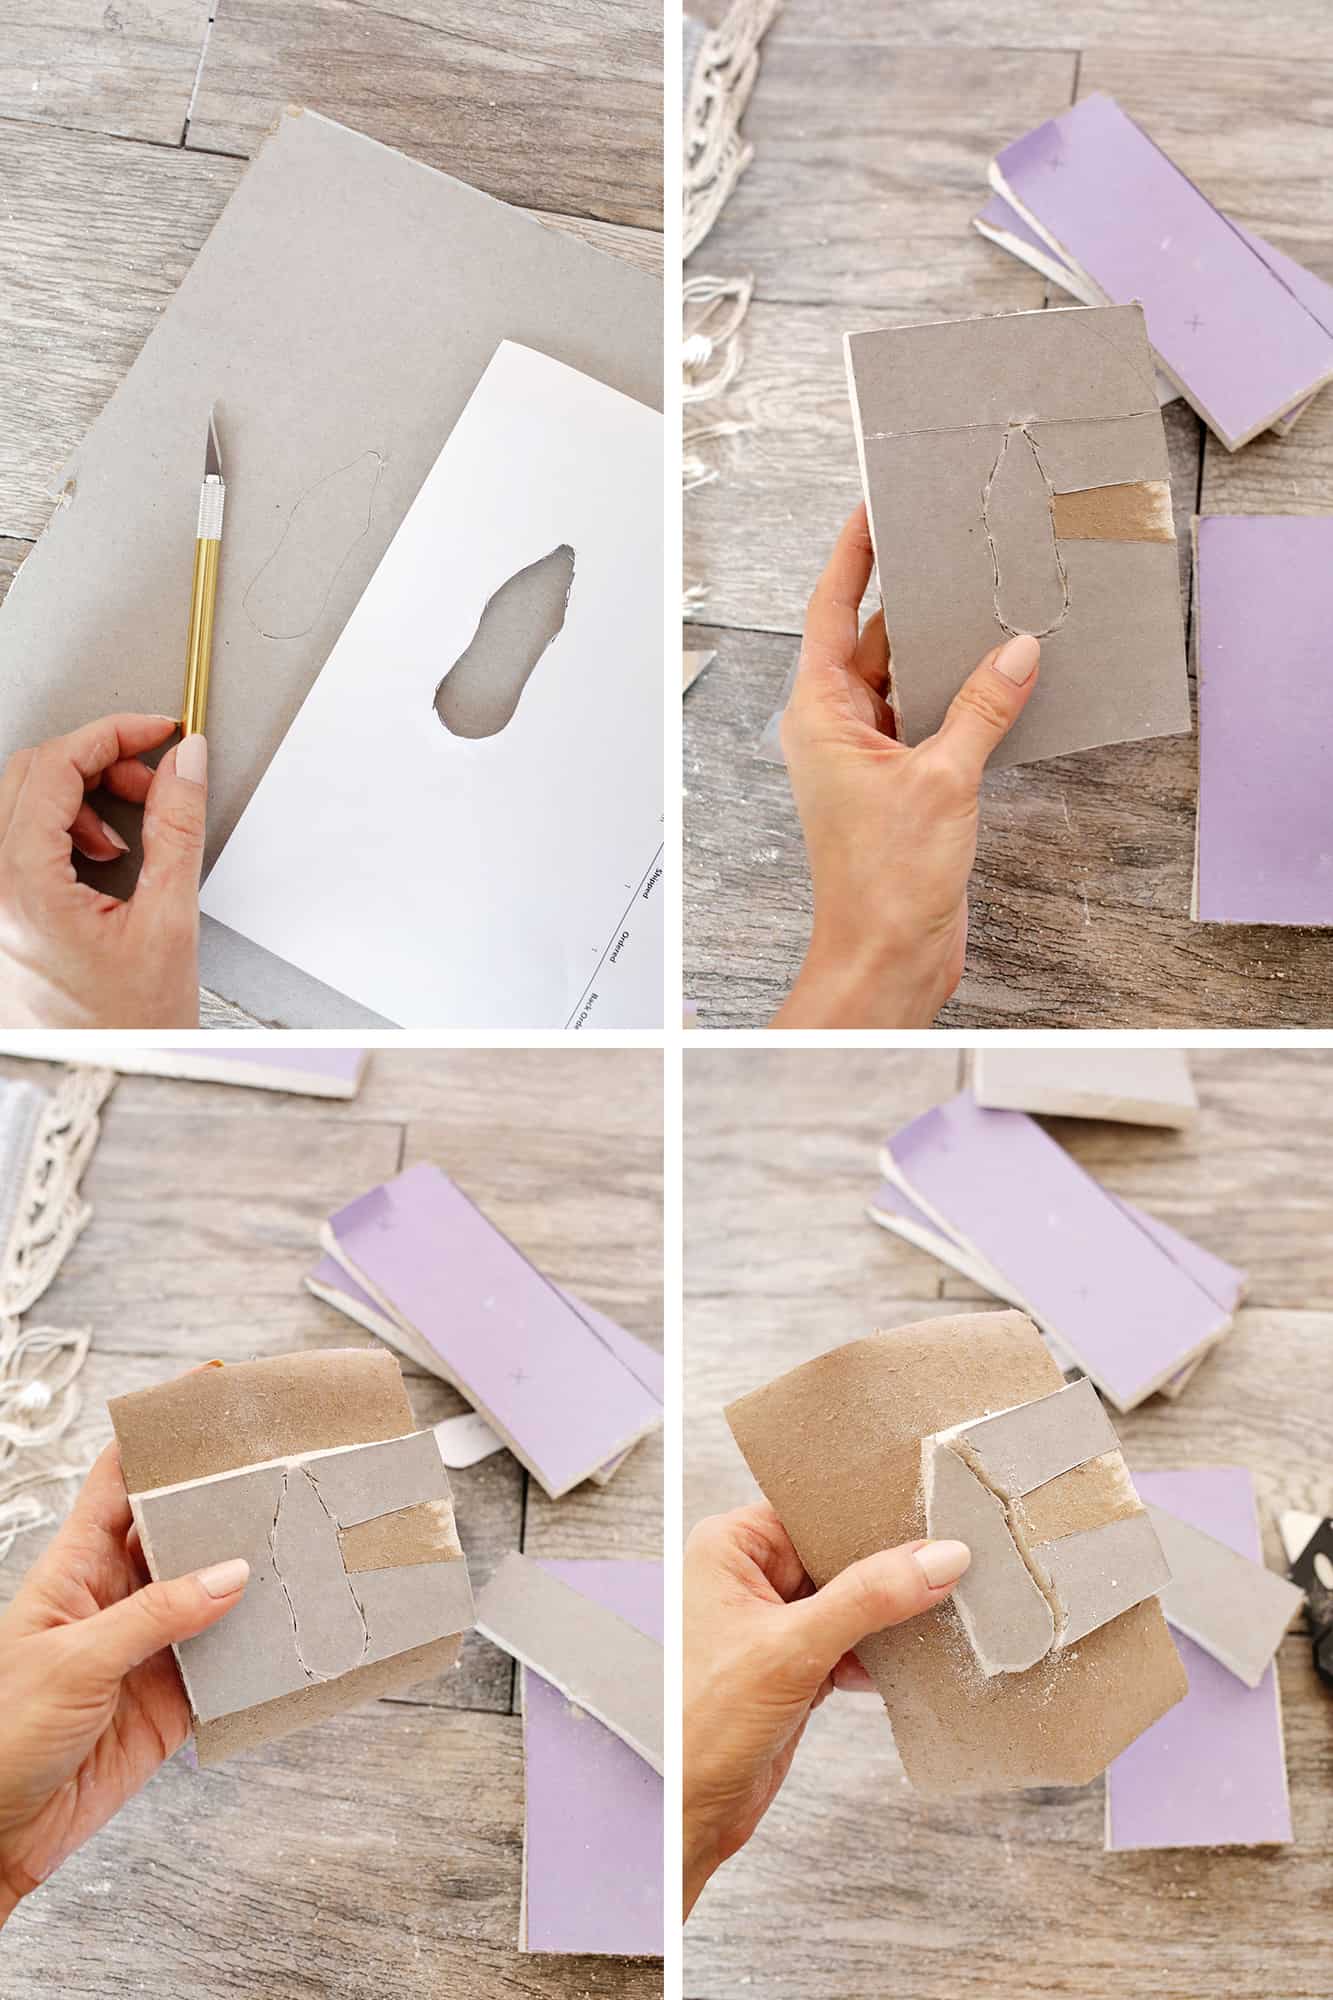
 Cut your drywall scrap: Use your utility knife (that kind where the blade folds in feels extra safe to store around little kids) to cut and snap a piece of drywall that’s a few inches bigger than your hole.
Center your tracking on the back of the drywall scrap and trace your hole shape onto the back of your drywall with your knife or X-Acto knife.
Make sure your tracing is reversed so it will be the right shape when you go to put it into your hole! You don’t have to go super deep on your first pass, but trace it a second time when you remove the tracing paper to go a bit deeper.
Snap off the extra (but keep the paper on): Now that you have a shape traced, score a straight line across the top and bottom of your shape and snap off those extra sections.
Rather than cut those sections off, simply peel the drywall off the paper so the front paper stays attached to the drywall patch.
Depending on your shape, you may need to keep scoring and snapping bigger chunks off or you may be able to snap right at your traced line and peel off from there.
I only had to score across the top and bottom and then the sides peeled off on their own. You can also trim down your excess paper with scissors if you have too much on the outside (I would do about 1.5″ around the edge).
You can make sure your piece fits in the wall, and if it won’t, you can chunk off a little more of your patch with your knife until it fits easily.
 Attach your patch with mud: Now that you have your puzzle piece ready to go, sand the paint around the hole with some rough sandpaper to remove the gloss from your paint (the mud will stick better to a slightly rough surface).
Add a thin layer of drywall mud (that bag of dry mix is great because you can just mix up a little at a time as needed) around the edge of the hole to act as a glue to hold your patch to the wall.
Slightly wet the paper edges of your patch and stick your patch into the wall. Use a joint knife (I like this 6″ one) to smooth over your patch so you see the excess mud squeezing out the sides to ensure a good seal.
You can also use regular spackle rather than the drywall mud if you prefer to use that product.


 Smooth over your patch/sand/paint: Once you’ve smoothed out the under layer of mud, go over the top of the patch with another thin layer and try to feather out the edges so you’ll have less sanding to do later.
Let that mud fully dry and go over the patch again later with another thin layer, going out even wider than the first layer and feathering out the edges again so you don’t have hard edges to sand.
Once it’s all dry, give it a sanding with some sandpaper (medium first then a fine grit) and you’re ready to paint over your patch!
Handheld sanders like this are helpful for sanding or these sanding sponges are great too!
You’ll want to make sure to wear eye protection and an N95 mask when sanding drywall or patching compound to keep from breathing in any of the dust during sanding and cleanup.
 The hole is gone!! And in case you are wondering, this does work on plaster walls as well! My wall is actually plaster (it’s an older home so most of the walls are) and it worked just fine.
I would suggest painting over your repair with a higher nap roller (or look for ones that say they are for semi-rough surfaces) as that gives the super smooth new patch a little texture so it will match the rest of the wall better.
This technique is meant for smaller holes in drywall, so if you have more of a medium-large size hole, you’ll want to screw in wooden boards to the back side of your drywall hole to act as a brace and cut and attach a drywall section to those boards–kind of like you would when framing out a wall.
I filled in a large niche area with drywall doing that kind of method if you are interested in doing that…Hope this gives you a new handy tool in your toolbox for next time you have a hole in your drywall! xo. Laura
by A Beautiful Mess
